
Budget hosting includes a one-click WordPress installer. This guide shows the whole process, which takes about a minute.
Before you start #
Make sure your domain is already pointing at our servers. If it is not, the installer can only offer you the temporary address, and you will end up reinstalling later.
Steps #
1. Log in to cPanel and scroll down to the WordPress logo.
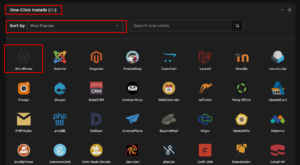
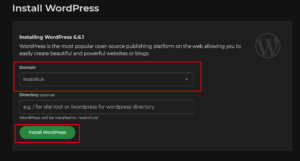
2. Select your domain and click Install WordPress.
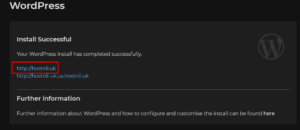
3. A success notice appears with two links. Click your own domain, not the temporary one.
This is the step people get wrong most often. If you click the temporary link, WordPress records that address as the site URL, and every link and image on the site will point at it. Fixing it afterwards means editing the database. See changing the URL in the database if it has already happened.
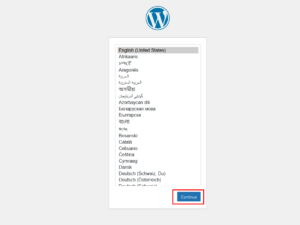
4. Choose your language and click Continue.
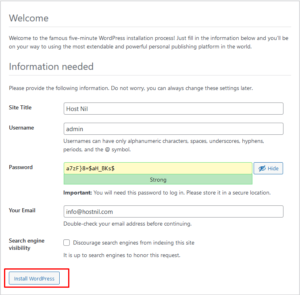
5. Fill in the site title, admin username, password and email, then click Install WordPress. Avoid admin as the username, since it is the first thing automated attacks try.
After installing #
- Log in at
https://your-domain.com/wp-admin. - Check the SSL certificate is active so the site loads over HTTPS. See activating your SSL.
- Go to Settings > Permalinks and choose Post name for tidy URLs.
If you need help, contact us.